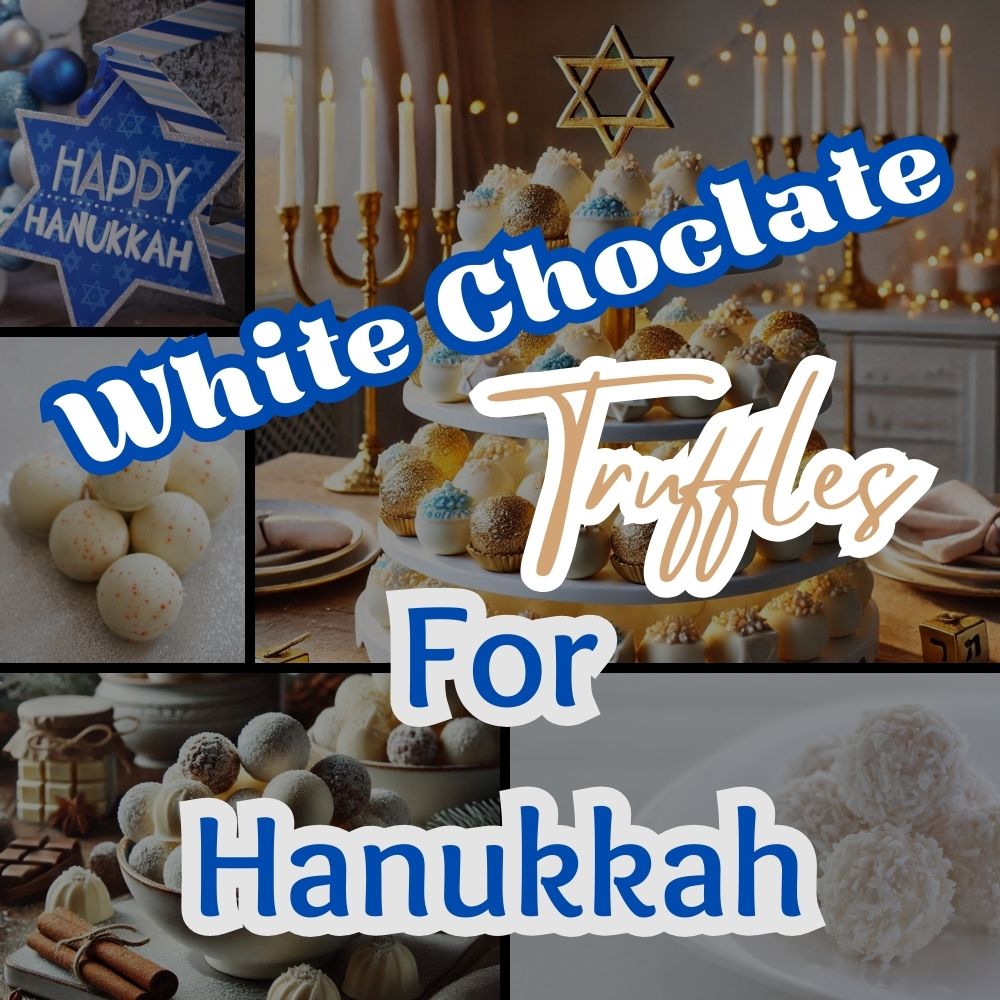
Hanukkah isn’t just about the flickering lights of the menorah—it’s also got some super tasty traditions that families enjoy together. These treats, often sweet and fried, symbolize the miracle of the oil. It’s like history on a plate, each bite reminding us of perseverance and celebration.
Over the years, desserts have played a huge role in Hanukkah festivities. They’re not just there to satisfy the sweet tooth; they’re part of the storytelling. Treats like sufganiyot and latkes carry with them stories of faith and hope, bringing families closer through shared moments and memories.
Making festive sweets is a bonding experience. It’s a chance for families to make new traditions while cherishing old ones. There’s a beauty in passing down recipes, tweaking them here and there, while still holding onto the essence of Hanukkah’s tale. It’s a delicious way to connect with our heritage and enjoy the season’s warmth.
Why White Chocolate Truffles? A Delectable Holiday Delight
White chocolate truffles are a fantastic choice when you’re thinking about holiday desserts. It’s not just about their sweet, mellow flavor—these little treats are versatile enough to fit right into the Hanukkah celebrations. Plus, the smooth texture of white chocolate makes them a hit among kids and adults alike, which is always a bonus at family gatherings.
When selecting your Hanukkah sweets, considering white chocolate brings an exciting twist. Unlike dark or milk chocolate, white chocolate offers a unique, creamy taste that’s perfect for creating easy truffles. It offers a nice break from the rich flavors traditionally found during the holidays, providing a lighter yet indulgent option.
The truffles are also super easy to make, which isn’t just a plus for those marathon holiday cooking sessions—it’s a game changer. You can prepare them in advance and give yourself more time to focus on the other important parts of the celebration, like sharing stories or simply enjoying the time with loved ones.
White chocolate truffles are all about that melt-in-your-mouth experience. With just the right blend of texture and flavor, they’re a delightful surprise on any holiday table. Whether you like adding a sprinkle of nuts or a dash of fruit zest, these truffles are flexible enough to be dressed up or kept simple. It’s about finding that perfect balance that suits your personal taste and makes your Hanukkah dessert table shine!
Crafting Perfect White Chocolate Truffles: A Step-by-Step Guide
When it comes to making these delicious white chocolate truffles, simplicity is key. You don’t need an army of ingredients or a ton of time to whip up something that’ll have everyone coming back for seconds. Here’s a straightforward guide to get you truffle-ready.
First up, gather your essentials. You’ll want high-quality white chocolate, heavy cream, and vanilla extract as your base. These create the creamy, sweet foundation that makes truffles irresistible. If you’re feeling adventurous, consider adding flavorings like almond or coconut essence for that extra zing.
Tools? Keep it basic. A mixing bowl, a saucepan, a baking sheet, and a trusty old spoon or spatula will do. The beauty of truffles lies in the fact they don’t demand much in terms of equipment.
Start by melting the white chocolate gently with the cream. Keep the heat low to prevent any burning. Once melted and silky, stir in your vanilla or any other flavors you’re adding. This mixture will need to chill in the fridge until firm, so don’t rush it.
Rolling your truffles is where the fun begins. Scoop out spoonfuls of the mixture and quickly roll them into balls, using a touch of cocoa powder on your hands if they start sticking. This part doesn’t have to be perfect; a little bit of rustic charm adds character.
Consider rolling the finished truffles in coatings like crushed nuts, cocoa powder, or shredded coconut. Each coating brings a new layer of flavor and textural contrast, enhancing the truffle experience.
Remember, truffles are all about creativity and catering to your taste. Feel free to experiment with fillings like a drop of caramel or a sprinkle of sea salt. This personal touch is what will make your truffles stand out on the Hanukkah table.
Elevating Your Hanukkah Experience: Serving and Presentation Ideas
Elevating your Hanukkah celebration with white chocolate truffles doesn’t have to stop at just taste; presentation plays a massive role in how your guests experience these treats. Simple yet thoughtful serving ideas can add an extra dash of excitement.
Start by considering how you display them. A tiered stand or a decorative plate lined with parchment paper can make your truffles the centerpiece of your dessert table. Arranging them in clusters or in a Hanukkah-themed pattern amps up the festive vibe.
Pairing your truffles with the perfect beverage makes them even more enjoyable. Think about serving them with a hot cup of coffee or some herbal tea to balance out the sweetness. This pairing adds another layer of comfort and indulgence.
The right decorations can also enhance the overall experience. Using edible gold leaf or silver dragees adds a touch of elegance. For a more colorful look, dust your truffles with some sprinkles or chopped dried fruits.
Bringing a festive theme to the presentation isn’t only about aesthetics; it’s about creating a memorable experience. Consider serving them alongside a menorah or dotted among dreidels and gelt to maintain the holiday spirit.
Incorporating these ideas ultimately brings an extra element of celebration to the table. It’s not just about eating dessert; it’s about celebrating a season of joy and togetherness.
White Chocolate Truffles Recipe for Hanukkah
Ingredients:
- 8 oz high-quality white chocolate, chopped
- 1/2 cup heavy cream
- 1 tsp vanilla extract (or other flavoring like almond or coconut)
- Cocoa powder, crushed nuts, or shredded coconut for rolling (optional)
- Optional fillings: caramel, sea salt, or fruit zest
Instructions:
- Melt the Chocolate: In a saucepan over low heat, melt the white chocolate and heavy cream, stirring constantly to avoid burning. Once smooth, remove from heat and stir in the vanilla extract or any additional flavorings.
- Chill the Mixture: Allow the mixture to cool to room temperature, then transfer to the fridge. Chill for about 1-2 hours until it firms up.
- Shape the Truffles: Once the mixture has set, scoop spoonfuls of it and roll them into small balls. If the mixture is sticky, use a small amount of cocoa powder on your hands.
- Coat the Truffles: Roll each truffle in your desired coating—cocoa powder, crushed nuts, or shredded coconut. Feel free to get creative with toppings!
- Chill Again: Place the truffles back on a baking sheet lined with parchment paper and refrigerate for another 30 minutes to set completely.
- Serve: Arrange the truffles on a decorative plate or tiered stand for a festive presentation. Enjoy with a warm beverage like coffee or tea.
Variations:
- Flavor Add-ins: Try adding a few drops of almond or coconut extract to the chocolate mixture for a unique twist.
- Toppings: Roll the truffles in crushed pistachios, candied ginger, or colorful sprinkles to suit your taste and create a festive look.
- Filling: Add a small spoonful of caramel or a sprinkle of sea salt inside each truffle for an extra burst of flavor.
- Fruit Zest: Add zest from lemon or orange for a citrusy kick.
Enjoy crafting these little festive sweets! Let me know if you’d like help adjusting the recipe for dietary needs. 😊

